Showing posts with label holidays. Show all posts

Thursday, November 7, 2013

HALLOWEEN!!

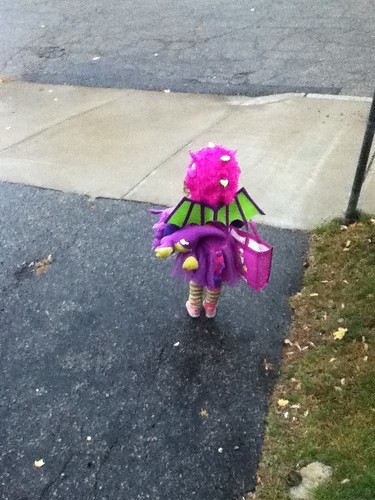
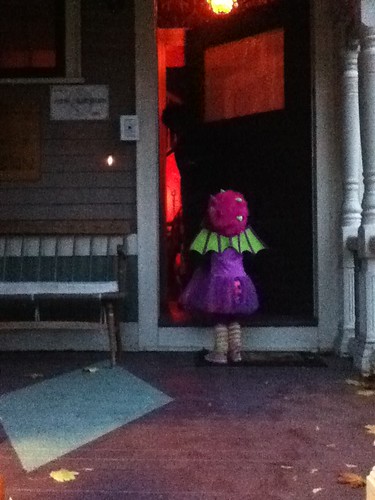
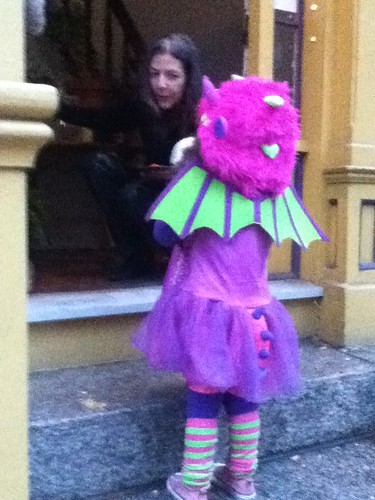
Aurora has been OBSESSED with dragons ever since someone gave her one at the Big E a month ago. So, when it came time to decide on Halloween costumes, I already knew what the answer would be...
A purple dragon!!
IMG_3487
IMG_3503
IMG_3500
This was Aurora's first year trick or treating, and even though it was a little rainy outside, she had a blast! Of course mama had to dress in a coordinating purple sorceress costume...
IMG_3498
IMG_3506
IMG_3504
Aurora loved her costume so much, in fact, that she insisted on wearing it the whole next day while she watched Dragon Tails on Netflix. 2013 - Year of the Purple Dragon.
IMG_3525

Tuesday, January 1, 2013

Happy Holidays!!

This last month has been crazy! After so many years of celebrating holidays (or not celebrating them) on my own, I think I'm finally starting to get the hang of this crazy non-stop holiday season. We went to Nana Poo (my roommate/bestie's mom)'s house for both a pre-Christmas party the weekend before Christmas and again on Christmas night! We celebrated at our house Christmas morning and hung out in our pajamas watching Christmas movies for most of the afternoon. Here's some pictures of our holidays:
Chomping on some mango.
Making friends with new family!
Wearing her new hat and playing with everyone else's toys.
Christmas morning presents!!
Aurora is showing me how to use her new light-up Hello Kitty toothbrush!
Distracted by Babes in Toyland.
Eating an apple...  ready to go to Nana's!!
Gimme that camera!!
Two juice boxes are better than one.
More presents!
Here let me help you unwrap yours too!!
Oh you know, just sitting on her new potty in slippers and huge wooden beads, eating snacks.
New snow gear!! Ok, the coat is a liiiiitle big haha.
I hope everyone else had a great Christmas!! Happy New Year!!!

Saturday, December 15, 2012

Aurora's Totally Awesome Birthday Carnival Party!!

So, I may have gone a little overboard on Aurora's birthday party this year. I had a little extra money coming in and it seemed like every time I thought about what I was going to do, I had yet another idea that I thought would be fun. The party was carnival themed and I had a bunch of activities planned for the little ones... unfortunately most of them couldn't make it. Oh well, Aurora had enough fun for everyone! Next year I may have to tone it down a bit, but I have to admit I really liked putting everything together. It was exhausting but super fun.
As usual, the pictures speak for themselves...
Enjoy!


Presents for the birthday girl from mama.
Treat Boxes!
Decorations!
Duck Pond! (I was pretty proud of this idea!)
"Concession Stand!"

A few more highlights of my handy work and Aurora enjoying the results.
She wouldn't even keep the clown nose on long enough for a picture!
Woo-hoo, presents!!
Aura's Build-a-Bear Snowman from Auntie Rachel!
Happy Biiiiirthdaaaaay!
Mmmm.
Hanging out IN the duck pond post-party, of course.
Oh, and also.... We. Are. Dorks.

Tuesday, December 4, 2012

Thanksgiving!

We went to Nana Poo's for Thanksgiving again this year. We had a blast as usual, but it was crazy to see Aurora running all over the house and playing with things, making fish faces and pointing at their big fish tanks and sitting in a big chair eating with a fork. What a difference one year makes!!
Last Year...
This Year!

Wednesday, November 28, 2012

Saturday, April 7, 2012

It's beginning to look a lot like... um... Easter.

So tomorrow is Easter! I wanted to do something cute and fun for Aura but I was a little stumped since she's still too young for candy. I may give her a little bite of marshmallow or chocolate but that seemed pretty stingy! I settled on a little stuffed puppy, some no-spill bubbles, and a couple little books for her basket. Then I came up with this cute idea for an egg hunt without the candy. I put pom poms in her eggs! She's intrigued by them when we go to baby yoga so I know she'll be excited. Plus they are color coordinated with the eggs so it'll work like a sorting game too! Genius if I do say so myself!
Ta-da! Mission Candy-free Easter accomplished!
The bag is goodies from Grandma J. and Grandpa F.
What are you guys doing for Easter? Candy or no? Any good ideas I can steal for next year (haha)?

Thursday, January 5, 2012

Cookies!

Sorry they're late but here's the Christmas cookie recipes I promised!!

Here's what I made for everyone this year:
Toffee "Crack"
No-bake Cake Batter Truffles
Andes Mint Cookies
Reese's Krispies

The best part? All four of these recipes are super quick and easy to make!
The toffee 'crack' is hiding under the truffles! It's delicious, but not as pretty.
Here are the recipes:

Toffee "Crack"
Preheat oven to 350°

-Saltines
-1 stick of butter
-1 cup light brown sugar
-1 bag of chocolate chips

Line a rimmed cookie sheet (half sheet pan) with parchment paper and arrange saltines in a single layer on the bottom. Melt butter in a small saucepan over low/medium heat. Stir in sugar until just combined. Pour evenly over saltines and spread, making sure to reach all the edges of the crackers. 
Bake at 350° for about 5 minutes until bubbly. Remove from oven and scatter chocolate chips on top. 
Allow the chocolate to melt and then spread evenly to the edges. 
Refrigerate until well set and then break into pieces.


No-bake Cake Batter Truffles

-2 cups of Vanilla or Yellow Cake Mix
-1 cup of sweetened condensed milk
-1 tsp vanilla extract
-tiny 'nonpareil' sprinkles 
-white melting chocolate or almond bark

Combine cake mix, milk and vanilla extract in a mixing bowl, fold in sprinkles. Add milk or more cake mix if needed to attain a firm bread-dough like consistency. Refrigerate for 15 minutes and then roll into small balls. Refrigerate until well set. Melt chocolate in a double boiler or in the microwave (45 seconds on high, stir and then 15 second intervals until smooth) dip each ball in chocolate sprinkle a few more nonpareils on top and set on parchment paper. Freeze for 15 minutes to set.


Reese's Krispies

-1 cup sugar
-1 cup light corn syrup
-1⅓ cup peanut butter
-4¼ cup Rice Krispies + pinch of salt
-4 Reese's peanut butter cups (chopped)
-small handful of chocolate chips 

Melt sugar, corn syrup and peanut butter in a medium/large saucepan until smooth. Add cereal and pinch of salt, stir to combine. Add in chocolate chips and stir again. Wait about a minute or so and gently fold in peanut butter cups (Mixture will be hard to stir! It's okay, you did it right!) 
Drop rounded tablespoons onto parchment paper (or roll into balls like I did) and cool. 
I drizzled mine with melted peanut butter and chocolate, but they taste just as good plain!


Ok, I saved the best for last! These were so super easy and I LOVE chocolate and mint together. Just thinking about them makes me want to whip up another batch!! 

Andes Mint Cookies
Preheat oven to 350°

-1 pkg of Devil's Food cake mix
-2 eggs
-½ cup oil (I always use grapeseed, but vegetable or canola is fine)
-1 package of Andes mints - unwrapped

Mix cake mix, oil and eggs together. Drop spoonfuls (or roll) onto a cookie sheet. Cookies will spread a little so give them some room. Bake for only 6-9 minutes. You want them to be just cooked so they stay nice and soft, they're done when the tops look dry in the middle. Take out of the oven and place a mint on top of each cookie while they're still hot. Let them melt a bit and spread over the cookies like frosting. 
Eat them warm or cold. They are amazing!


Try some of these out, you won't be sorry I promise! Enjoy!!


Saturday, December 31, 2011

My New Years Eve


Hope everyone has a safe and memorable New Years Eve!! I'll be comfy on the couch with Carson Daly and some champagne and nibbles, then a nice hot shower to wash 2011 away before SNL and bedtime!
I've been working on a year in review type survey that I'll post tomorrow! Now, I vowed to ring in the new year stress free and NOT working, so I'll be signing off now. Good night everyone!

Friday, December 30, 2011

Nana Poo's Xmas gift - Homemade Candy Cane Bath Salts!

Money was pretty tight this year so I had to scale back on my Christmas gifts. My roommate/bestie and Aurora were really the only people I could afford to spend on. So what about everyone else... cookies! (More on that tomorrow) Nana Poo fit into another category though because she was having us over for Christmas dinner and I knew that she got Aura some goodies so I decided to make one extra gift for her to tuck under the tree with all the cookies...
Unfortunately, I am cursed with a stand up shower (I'd kill for a good soak!) but when I had a tub peppermint bath salts were my absolute favorite go-to for achy muscles. To make them festive, I added some color! I'm almost embarrassed to admit how easy and inexpensive these were to make.
I'm sure Nana Poo won't be offended if I share the wealth though, especially now that I've given her a cure for her achy back!
So without further ado...

CANDY CANE BATH SALTS:
You will need...
-One see-through cylindrical container with a tight fitting lid 
(mine was about 3 cups -if the opening is small, you'll also need a funnel)
-Epsom Salts 
-Course Ground Sea Salt (I used Baleine)
-Pure Peppermint Oil, preferably food grade
(I found mine at a craft store in the candy making section)
-Red food coloring (liquid, not gel or paste)
-One Ziploc baggie
-Two plastic disposable cups - These are OPTIONAL but they really help.

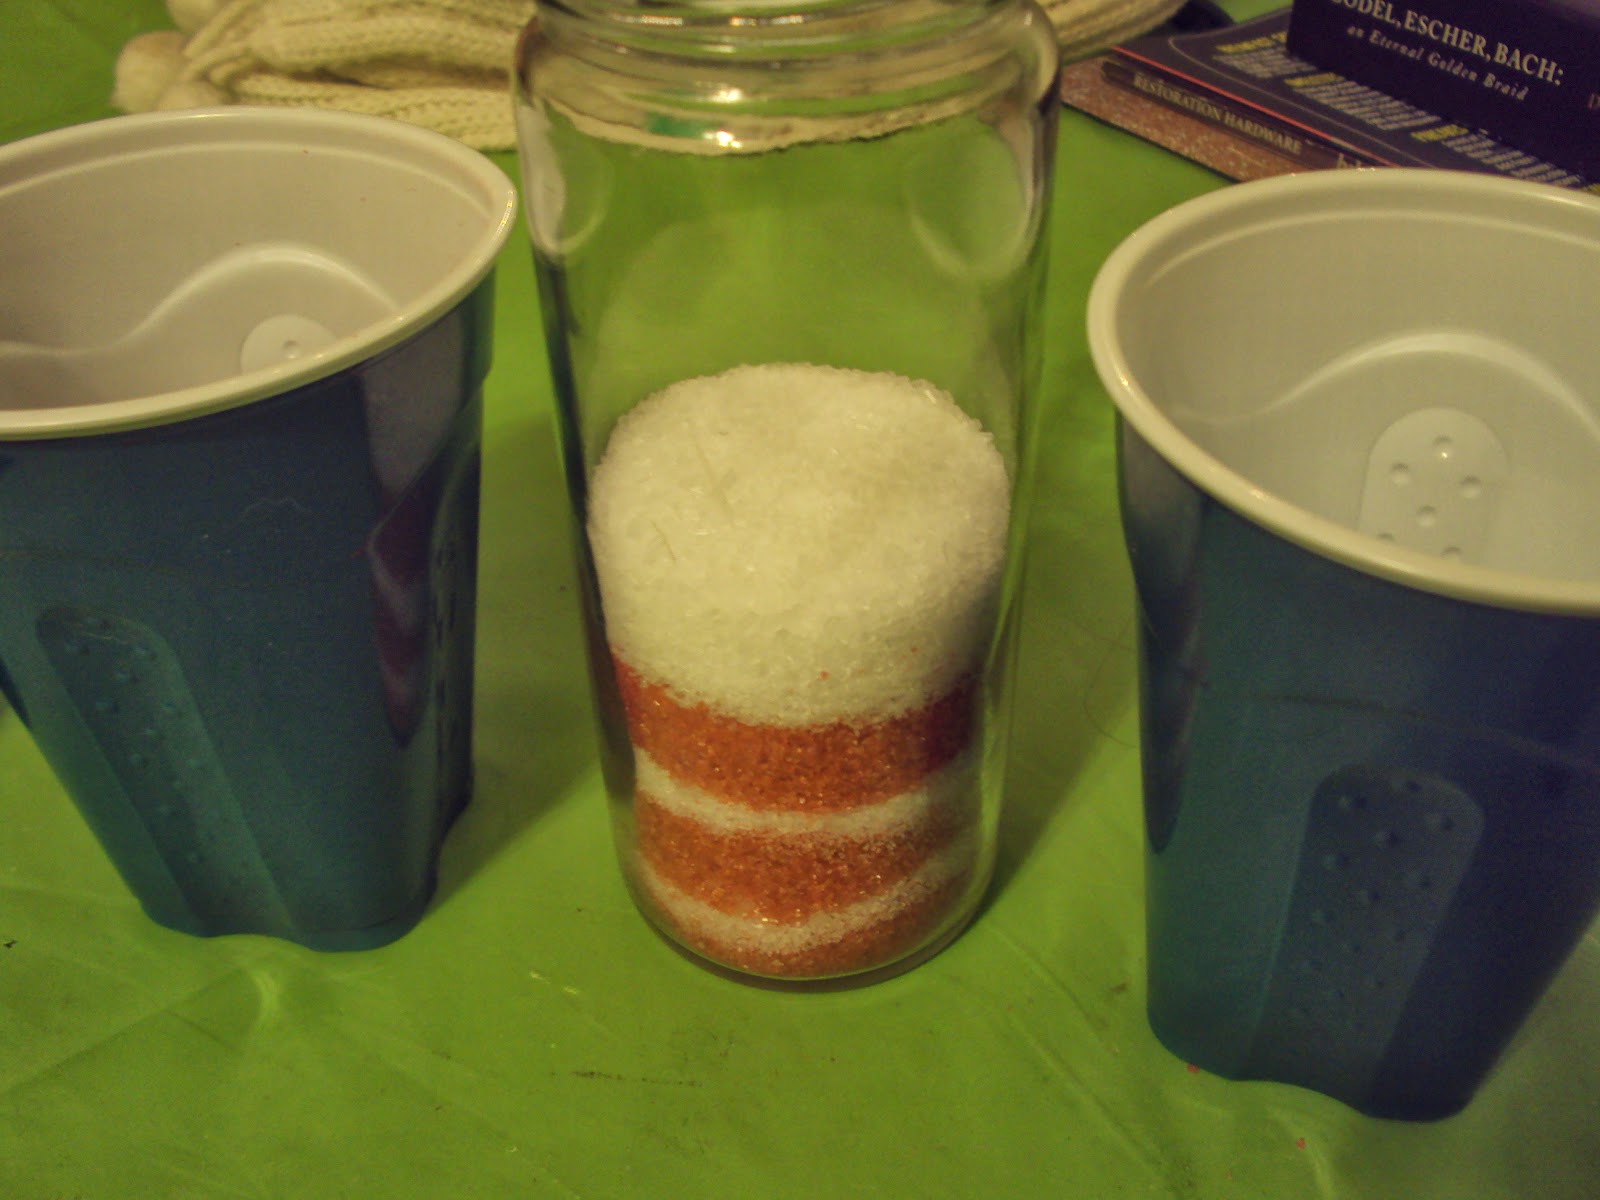
The easiest way to do this is to fill your container with 3/4 Epsom salt and 1/4 sea salt, tap it down to make sure it's full... now pour half into your plastic baggie and half into one of your cups 
(or any container that you're comfortable pouring from)
Now to the half in the baggie you're going to add about 8-10 drops of peppermint oil (you should be able to smell it THROUGH the baggie. It'll be super strong.) and about 5 drops of food coloring. Seal the baggie and massage the food coloring until it is evenly distributed in the salt. If the salt is red continue, if it's too light or too pink just add a few more drops of food coloring and massage it through again. Don't go too nuts though, you don't want the salt to be wet or it'll bleed. It should look something like this:
Now... pour this red mixture into your other empty cup. I'd say you can use another container but the peppermint oil permeates EVERYTHING so choose wisely. If you have no disposable cups around, your best bet may be to pour directly from the baggie and use a funnel. Just a kind warning. Now the fun part!
Remember those sand bottles you get at carnivals where you use the different colored sand to make art in the bottles? That's the idea here too! You're going to layer the salt, alternating white and red so it's striped, you can tilt the bottle if you'd like or leave it flat. Tap it on a hard surface after every two stripes to make sure the layers are compact. I try to end with red because no matter how good I am I always end up having to top it off with a little extra plain Epsom or sea salt at the end. You want to make sure the jar is super full so the stripes don't mix and mingle before you get to give your gift. Pop the lid on and that's it! 
Easy right?!?!?
When I was all done, I just tied on a little tissue paper and a bow to cover the lid and TA-DA:
Instant AWESOME Christmas gift... or just an awesome gift for yourself! 
1/2 cup in the bath will make muscle aches and fatigue disappear! 
Enjoy!
Related Posts Plugin for WordPress, Blogger...